Archive for the 'let’s cooking!' Category

Wild Blueberry Pie

Monday, October 6th, 2008

wild Maine blueberries

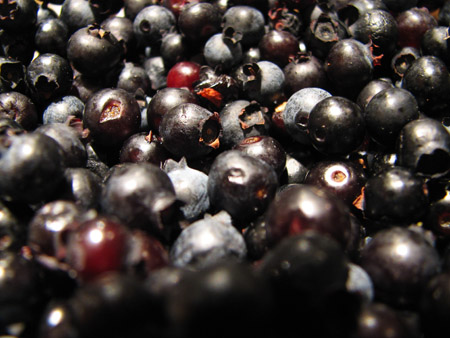
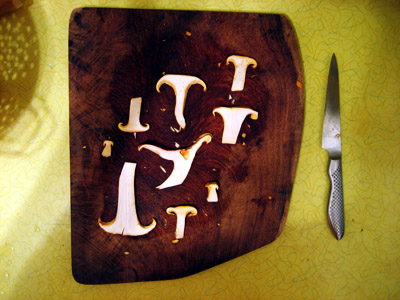
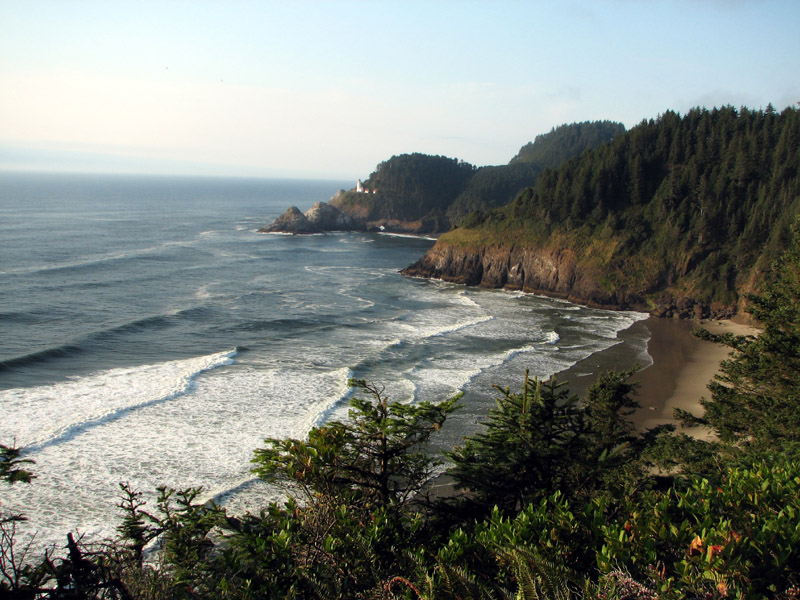
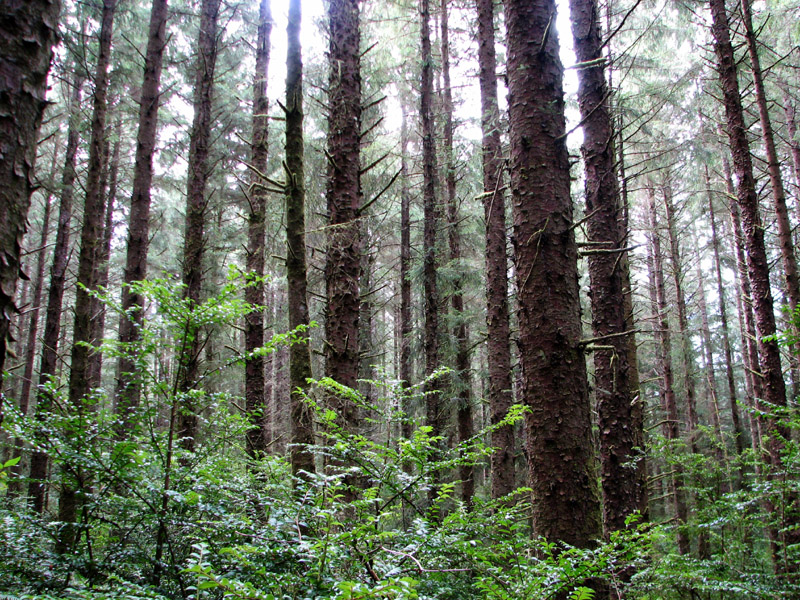
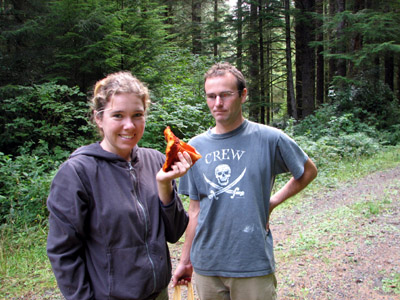
Two years ago, we were in Maine visiting Kurt and Ilana and we went on a hike at Mt. Pisgah looking for blueberries. We found no blueberries but we did find a bunch of chanterelles! So this year, we loaded up the car with paper mushrooming bags, babies, baby gear, baby diapering accouterments, baby snacks, baby toys, baby carriers, and extra baby clothing in case of extreme cold or diaper escapage, and went out on the very same hike with chanterelles as our foraging target. Sadly, after much peeling of eyes and stomping around in the underbrush, we gathered only a handful of soggy, maggoty specimens. We resigned ourselves to a nice hike in the mosquito-rich environment and climbed the fire tower, which incidentally seemed scarier this time around with babies in tow. On our way back to the car via the fire road, we encountered the blueberries! LOTS of blueberries. Our vestigial monkey brains took over from there. We would have gotten more had the mosquitoes not been so gnarly (or the babies so crabby).

Happily, we had just the right amount for a pie. Here’s the recipe we used.

WILD BLUEBERRY PIE (adapted from Cooks Illustrated)

Crust: (We made a vodka crust, which turned out great. The crust is important but it’s not Thee important part of this pie. Whatever usual crust you like to make will work just fine.)

This vodka crust recipe is standard mostly:
* 2.5c flour
* 1t salt
* 2T sugar
* 1.5 stick butter plus another half cup (1 stick) shortening, which is a lot of butter. Not that I’m complaining.
* Then you add 1/4c ice water, and
* 1/4c vodka (preferably out of the freezer). This makes the dough very malleable and easy to roll out. Divide into two parts, press into two thick discs, and refrigerate at least 45 minutes before using.

Take one half of the pie dough, roll out and fit it into the pie plate. Put it back in the fridge while you prepare the filling.

blueberries and apples

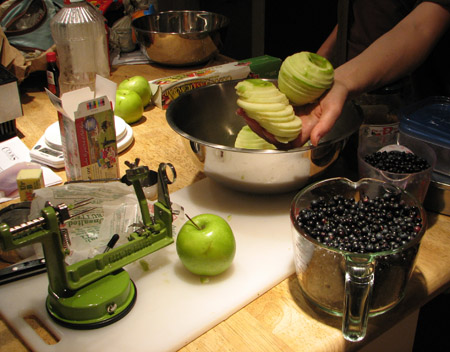
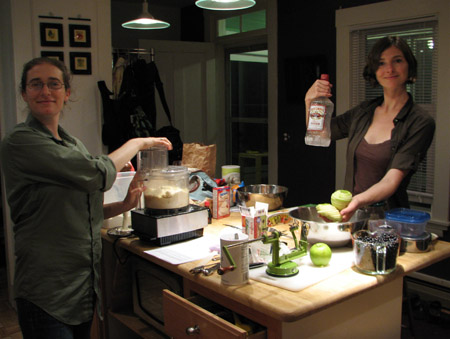
[The goods: seven cups of blueberries, apples, and a spiraling/coring machine.]

crazy with vodka

FILLING
* 6-7c fresh wild blueberries that you just picked on your hike back from Mt. Pisgah (which is really just a hill)
* 1 apple, peeled and coarsely grated
* 2t grated lemon zest and juice from 1 lemon
* 3/4c sugar
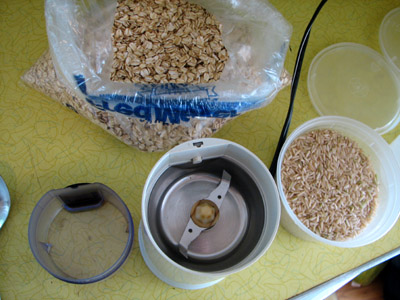
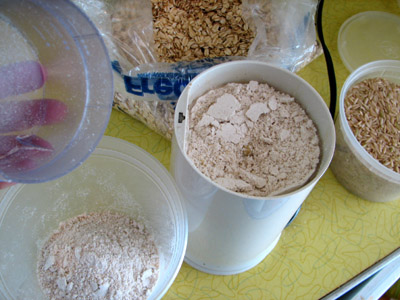
* 2T tapioca flour/starch (you can grind up quick-cooking tapioca in a coffee grinder, etc.). I imagine you could use corn starch if you have no tapioca but be sure to check conversions: corn starch sets up much more robustly than tapioca. You need much less is what I’m saying.
* Pinch salt
* 2T butter, cut into pieces (for on top of the filling)

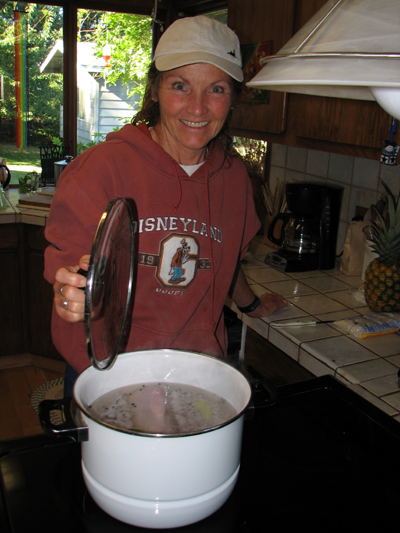
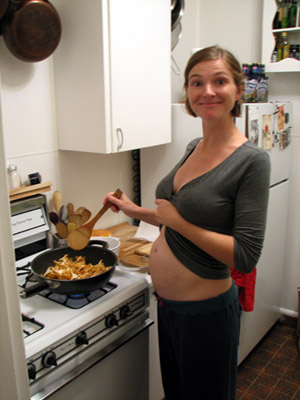
Take half of the berries and heat on the stovetop (med. heat) until they release their juices, mashing them a bit if necessary. Cook around 8 minutes until the berries have broken down somewhat and thickened. Cool slightly, then mix together with the apple, rest of berries, rest of ingredients. Mix to coat everything evenly.

Remove the crust from the fridge, pour in the filling and put butter bits over the top. Roll out the other half of the pie crust and place over the top. Crimp edges, decorate decoratively, etc. You can brush the top with egg whites (we did I think).

Bake at 400 deg for 30 minutes, then reduce the temperature to 350, baking for an additional 30-40 minutes (until filling is bubbling and the crust is nice and golden).

wild Maine blueberry pie

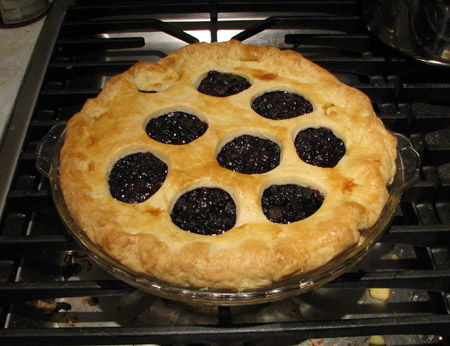
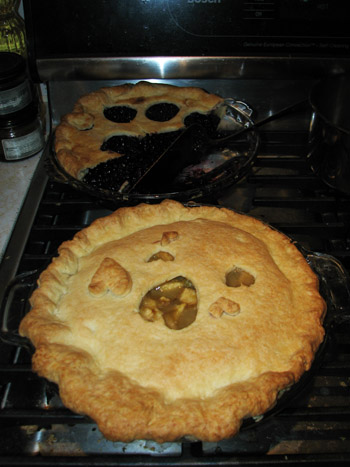
[Blueberry pie awesomeness.]

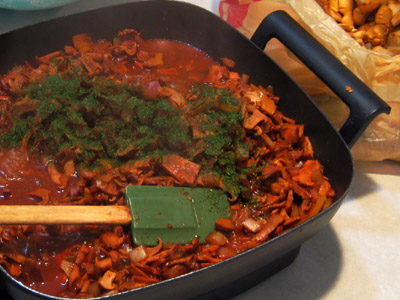
We also made an apple rhubarb pie out of rhubarb from the garden. This is an excellent combination. I don’t know exactly what we did for the filling but I would imagine some sugar (enough to counter the tartness of the rhubarb), cinnamon, and maybe a bit of flour went in to coat the apples and rhubarb. We used the same vodka crust.

wild Maine blueberry pie and apple/rhubarb pie


Solids: Take One

Thursday, July 10th, 2008

We jumped the gun by about a week* due to a general excitement on the grownups’ part over the solids thing and decided to give it a try. Because I’m ultimately the spawn of hippies, I decided that if Ronin was to be fed, it would be homemade and organic. So I bought a bit of organic basmati (after comparing it to all the other organic options, basmati seemed a little higher in protein and fiber and lower in carbohydrates—of course whether it is best for a baby to have higher protein versus carbohydrates, I don’t know. I cut my research short in favor of not standing in the middle of the grocery aisle any longer, bouncing back and forth from bulk bin to bulk bin reading and re-reading the nutrition facts.)

Next step was to clean the coffee grinder like it had never been cleaned before. I took a photo of it actually as it was downright spectacular to look into the grinder and see my face looking back up at me.

I was a little skeptical that our ancient coffee grinder would be up to the task of making flour out of the grains so I started with the (organic! and less the consistency of small rocks) oats. Happily, our coffee grinder is awesome because it worked perfectly; the oats turned to powder in maybe ten or fifteen seconds. I cleaned it again and ground up the rice. As with the oats, the rice worked just fine, just noisier and I had to grind it longer, maybe 30 seconds or so.

To cook, I used 1 part rice powder to 4 parts water and cooked it like you might cook cream of wheat (boil water, slowly add cereal while stirring). Because the flour is so powdery, you have to be careful to add it really slowly and stir vigorously as you add it; I still got lumps so I turned the burner off and went through the stuff, smashing all lumps with my spoon before continuing. If you had a sifter that you could knock it into the pan evenly and sparingly, this might work best; maybe even knock it through a tea ball. I cooked it for around ten minutes or until it tasted totally cooked. It’s bland but a whole lot better tasting than the Gerber rice cereal, which kind of tastes like tissue paper.

Then I mixed about a teaspoon of the stuff with some breastmilk to make a runny paste and we sat a sort of grumpy Ronin down for her first meal. Naturally, we took so long to find the camera and get the lights adjusted just right for filming that she lost it while waiting for us to get our shit together and we had to pick her up and cheer her up again before trying again.

The verdict: After round one, I thought in general, it was a go. She was interested in it at first and took a few bites like she was liking it but then just sort of melted down. I don’t think the cereal really had much to do with it though—I think she was just getting tired and our timing was off. Thusly, we ended the first session prematurely and she went down for a nap shortly thereafter. Round two didn’t go so well. She took a bite then gagged. Maybe we’ll rest for a week and try again. When she’s six months old.

[flash /images/0807/solids.flv w=400 h=300 f={autostart=false}]

Video of Ronin eating. (I can’t decide if the sound of my recorded voice or my dorky commentary is worse..)

* By a week, I mean that all the books and the Internet say that you should not start solids before six months of age. Not a day before. La la la.


Lets Cooking! Lengua Verde

Thursday, December 27th, 2007

Lengua Verde has always been one of my favorite meals. I grew up with it and I always assumed that my Mom had picked up the recipe somewhere in Central America. However, I just learned that the recipe actually came from my Grandma Phyllis. Anyway, Mom always makes me a tongue on special occasions like my birthday or if we haven’t seen each other in awhile.

Cheryl Flavin. Boiling the beef tongue

I can be hard to find a tongue in the US, but if keep a sharp eye at the meat counter and ask around you should be able to find one. Start off by boiling the tongue for a long time in pickling spices. Mom claims that there isn’t an exact recipe for this and that she just throws in whatever comes to mind depending on what she sees in the spice cabinet. Good choices include: cinnamon sticks, mustard seed, black pepper corns, whole cloves, whole allspice, juniper berries, crumbled whole mace, dill seeds, bay leaves, coriander seeds, dried red pepper, and ginger.

Boiling the beef tongue

Boil it all until the tongue is tender.

Beef Tongue

Then remove and allow to cool.

While the tongue is cooling start on the sauce. Brown a large onion in butter until soft. Add chopped poblano peppers, 1 can of Ortega chilies and 1 large can of chopped tomatoes, juice and all. You can also add hot peppers, garlic, and tomatillos. Set all this up to simmer and turn back to the tongue.

skinning the tongue

The skin should just peel off. Discard.

Now we all know that a Mexican would never throw out the skin. I’ve eaten lengua tacos from New York City to LA, Tuscon to San Cristobal and there’s aways tongue skin right there in the taco. I’m not sure what they do differently, but it’s tender and juicy. If you want to eat the skin I understand. Thowing it out seems like a waste of protein. However, I can tell you that if you want to eat it you’ll have to find a different recipe. At this stage the skin just isn’t edible. It’s tough and chewy. It may only be a matter of cooking it longer or something. I don’t know, but please tell me if you do.

sliced tongue

Slice it cross wise.

lengua verde sauce simmering

Add the sliced tongue to the sauce and simmer until it thickens down. Salt to taste.

Lengua Verde served with rice and salad

Serve over rice with a salad.

Yummmm. Thanks Mom (and Phyllis)!

Shopping list:

  • Beef Tongue
  • Pickling Spices
  • Large Onion
  • Garlic
  • Poblano or Anehiem Peppers
  • Ortega Chilies
  • Large can of chopped tomatoes

Cream of Chanterelle Quinoa

Monday, September 24th, 2007

Sliced chanterells on a mesquite cutting board

Cream of Chanterelle Quinoa

  • 1 lb of chanterelles
  • 2 tbsp butter
  • 1 medium onion
  • 2-3 medium tomatoes
  • 3/4 cup rinsed quinoa
  • 2 cups vegetable broth
  • 2 cups milk
  • salt, pepper, herbs de provence

Dry sautée a pound or so of chanterelles reserving the liquid and set aside. In a 2 quart sauce pan, Sautée a medium onion in 1/4 stick of butter until the onions are translucent. Add the mushrooms to the sauce pan and stir briefly until they are coated in butter. Add 2 cups mild broth and the reserved chanterelle liquid. Bring to a boil. If your broth is very strongly flavored dilute with water otherwise the delicate taste of the chanterelles will be overwhelmed. When it boils add 2 cups of milk and reduce heat to simmer. Add 3/4 cup of rinsed quinoa, salt, pepper, and herbs de provence. Cover and simmer for 15-20 minutes adding milk or water if necessary. When done the quinoa should be soft on the outside with an al dente germ. Most of the liquid should be gone (think couscous). Finally add 2-3 medium chopped tomatoes and stir fry until tomatoes are slightly soft.

dry sautéing chanterelles

Quinoa is a high protein grain available in bulk at your local hippy store. Excellent food for pregnant ladies.


Chanterelles

Saturday, September 22nd, 2007

Chanterelle, near Yachats, Oregon

[Cantharellus cibarius]

The chanterelles are blooming on the Oregon coast. Mushroom hunters generally don’t like to divulge they’re favorite spots but I’ll tell you the secret: Anywhere! If you’re driving down 101 through second growth Douglas Fir, pull over and head into the woods. Bring a bag.

Heceta Head, Yachats, Oregon

[Heceta Head south of Yachats, Oregon] (800×600)

Douglas fir second growth forest. Yachats, Oregon

[Second growth Douglas Fir] (800×600)

There are plenty of huckleberries to munch on while you poke around in the ferns. The real question is what to do with all the mushrooms when you get home. Chanterelle pasta is always a good bet and we ended up making just that our first night in. We had Jenni, Cameron, Hans, Agnieszka, and Fred. A total of 7 people to feed and we nearly ran out (not for lack of chanterelles but for lack of prepared sauce because none of us are accustomed to feeding that many people at once). It’s a good thing we’d loaded up some apples from mom’s (Cheryl) house on our way through Eugene. Jenni put those to good use in a big square pie.

Hans, Kurt and Otto

That’s Kerstin on the left and Hans on the right with his ridiculous dog Otto. Hans got the glock somewhere and it was an effort to get him to leave it in the car for the hunt. He’s always eager to play scary redneck, but obviously you don’t need a gun to hunt mushrooms.

Lobster mushroom, Siuslaw National Forest, Oregon

[Hypomyces lactifluorum]

Lobster pirates Jenni and Cameron show off a large orange lobster mushroom. Lobsters stand out in the forest even though they’re usually partially buried in the duff. We found a lot and stopped picking them because they’re so heavy. Jenni doesn’t like them due to the vaguely seafood taste, but I like the firm texture and subtle flavor. The interesting thing about the species is that it is a parasite on other mushrooms (usually a short-stemmed russula). It turns a common but disregarded and maligned edible into something more succulent.

For the second running night of mushroom feasting we decided on Hungarian Mushroom soup. Actually, Vegan Hungarian Mushroom soup. I don’t have an exact recipe because none was followed. However, here’s the gist.

  1. Dry sauté a lot of mushrooms (in this case chanterelles).
  2. When the water is mostly boiled off add some onions, a small amount of garlic, and a little olive oil.
  3. When the onions are soft add vegetable broth (or water and bullion), and a lot of paprika (more than you might think).
  4. Simmer it for awhile then ad some dill (lots–but less than the paprika).
  5. Next add soy milk.
  6. Simmer and continue adding soy milk to maintain the desired soupiness.
  7. Salt and pepper to taste and add a little flour to thicken if necessary.
  8. Fresh chopped parsley to garnish.

In addition, Cameron baked fresh bread and sautéed a delicious ginger soy lobster mushroom side dish that is too complicated to describe here.

Vegan Hungarian mushroom soup

[After the dill but before the milk]


Cheyenne Weil, Joshua Coxwell