I think Ronin had a growth spurt at six months. The books all say that babies are supposed to but I didn’t really believe it. Somewhere between five and a half and six months she suddenly became too heavy for the Baby Bjorn. Not too big or technically too heavy (according to the weight capacity), but after only a mile or two walking with her in it, my shoulders would KILL. This never happened before; I used to walk for hours and I never noticed it being a problem. I had been using the Bjorn a lot since it got warmer out; the Moby, which is of course very comfortable even with a heavy baby, is just too hot for summer. Ronin gets sweaty and starts to squirm and struggle to get free after a while.
The answer, of course, was to search endlessly on Ebay and Craigslist for a cheap used Ergo or something but then I saw an online tutorial to sew a Mei Tai, which is similar to the Ergo but lower tech, which I prefer. Everyone swears by the Ergo and similar styles, particularly for heavier babies and toddlers, so I decided to make it.

It was really easy and this was good because I needed to get it done in a couple of evenings so we would have it for the Country Fair. The hardest part was picking out the fabric. I needed something strong and had been told to not use twill (because it might bunch up uncomfortably but in hindsight, I don’t think the design I used with the padding would make this much of an issue) or denim (too short of a pile makes the fabric weaker) or corduroy (again, chopped pile compromises strength). So, I needed canvas or something like this. We went to Johann’s Fabrics, which is the size of a city block yet ironically has hardly any fabric. (If I was looking for stenciling or scrapbooking materials, perhaps this would have been my place.) Unfortunately, they did not carry canvas, only an insanely heavy cotton duck, which was severely stiff and thick. I was sick of looking and picked the khaki color (color options were also less than desirable). The stuff was so stiff the tweaky Russian salesgirl was unable to fold it and just stuck it in the bag in the shape of the roll it just came off of. Washing it at home helped a little but this was very tough stuff.
I made essentially the same carrier as the tutorial instructions show but left out the inside liner (I could not decide upon a suitable liner fabric and of course, Johann’s Lame Fabrics was no inspiration) and the hood. I also made the padding from folded fleece but used only 18 inches and started the padding a couple of inches up from where the straps attached to the body.

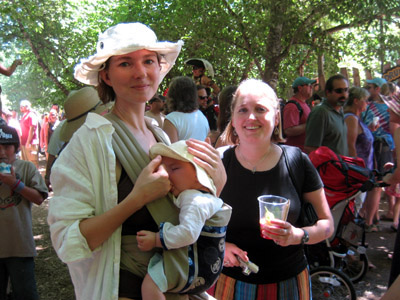
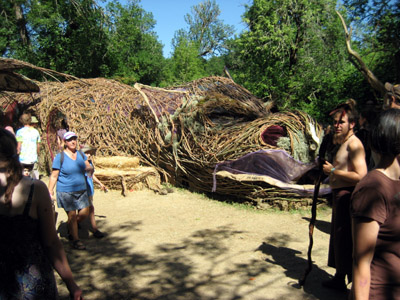
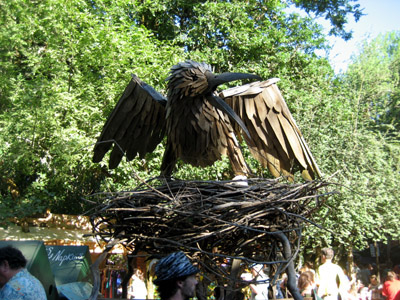
Overall, I’m very happy with it. It looks good I think and it really is very comfortable. We broke it in at the Oregon Country Fair, arriving at around 11:30am and leaving at 8pm—I wore her the first half of the day, Joshua for the second and my shoulders felt fine. My back felt fine. It was great. Plus, as always, it was hot and dusty yet the carrier was not uncomfortably hot; the baby can sort of lean away from you creating a breezeway between you two. Unfortunately, Ronin is used to facing out and seeing where she is going. This carrier is only a facing-you carrier (either in front, or piggy-back style) and Ronin was a tad put out about having to always look to the side. We bought some wooden beads on a rope to wear around our neck and thusly we rocked the fashion boat at the Fair AND the baby was happy and distracted. Also, bonus points: she slept marvelously in it. Just made humming noises until she drifted off.
Since then, we have had a couple of long walks and she is becoming more content to ride in the carrier and look to the side. I haven’t tried her out on the back yet; I’m going to wait until she is a bit bigger I think. There is a hip carry I tried out yesterday and this is the answer as far as Ronin getting to see where we are going. It is somewhat less hands-free than the front carry but cuddly and comfortable and Ronin seems much happier.
Things I would change a second time around are 1) Use a lighter weight fabric (the duck is fine, but it is seriously overkill). 2) Rearrange the exterior decorative layer. I made a square inside a frame of khaki; next time I would make the decorative fabric run in a stripe down the body with khaki only at the sides. 3) Make the hood. I like the looks of the hood (also it would support her head when she slept and provide shade) and with the body styled as a stripe, the hood could be incorporated easily without breaking up the design. I also would make the hood longer than the tutorial depicts with the sides gathered more like the Ergo hoods. 4) Make loops here and there to tie or attach things to, like toys or teether doo-dads. 5) Contour the sides more so that it doesn’t chafe under her knees. When she is a tad bigger it won’t matter but for a smaller baby, the body bunches up a little where her legs stick out.

[Here’s a diagram of what I made and what I would do to improve on the design. As you can see, it is really insanely simple. The green panel is where I would sew in some fancy pattern or whatnot rather than a square in the center and the gray shaded areas are where the padding is. The shoulder strap padding goes about 18 inches up the straps. A hood could be added made with the same fabric as the designer stripe and would appear low relief as it hung down when not in use. I forgot to mention or put it in the diagram but the body fits inside the bottom strap about two inches so that there are three lines of stitching securing it (top stitching in addition to the two lines of stitching securing the padding).]

[This is a photo of the sewing machine I use. It was given to me when my grandmother died and I use it a lot. It only has a straight stitch (which is why I avoid buttonholes when I can) but it works beautifully and is so small and cute. I love it.]


